Expert Advice: Brake Pad Check
General Information · 16-09-2026
Whether you’re commuting, touring or enjoying a weekend scratch up the hills, being able to stop efficiently can make the difference between avoiding a stack or becoming part of one. Fortunately, checking your brakes and even replacing worn brake pads is a maintenance job most riders can perform with a bit of skill.
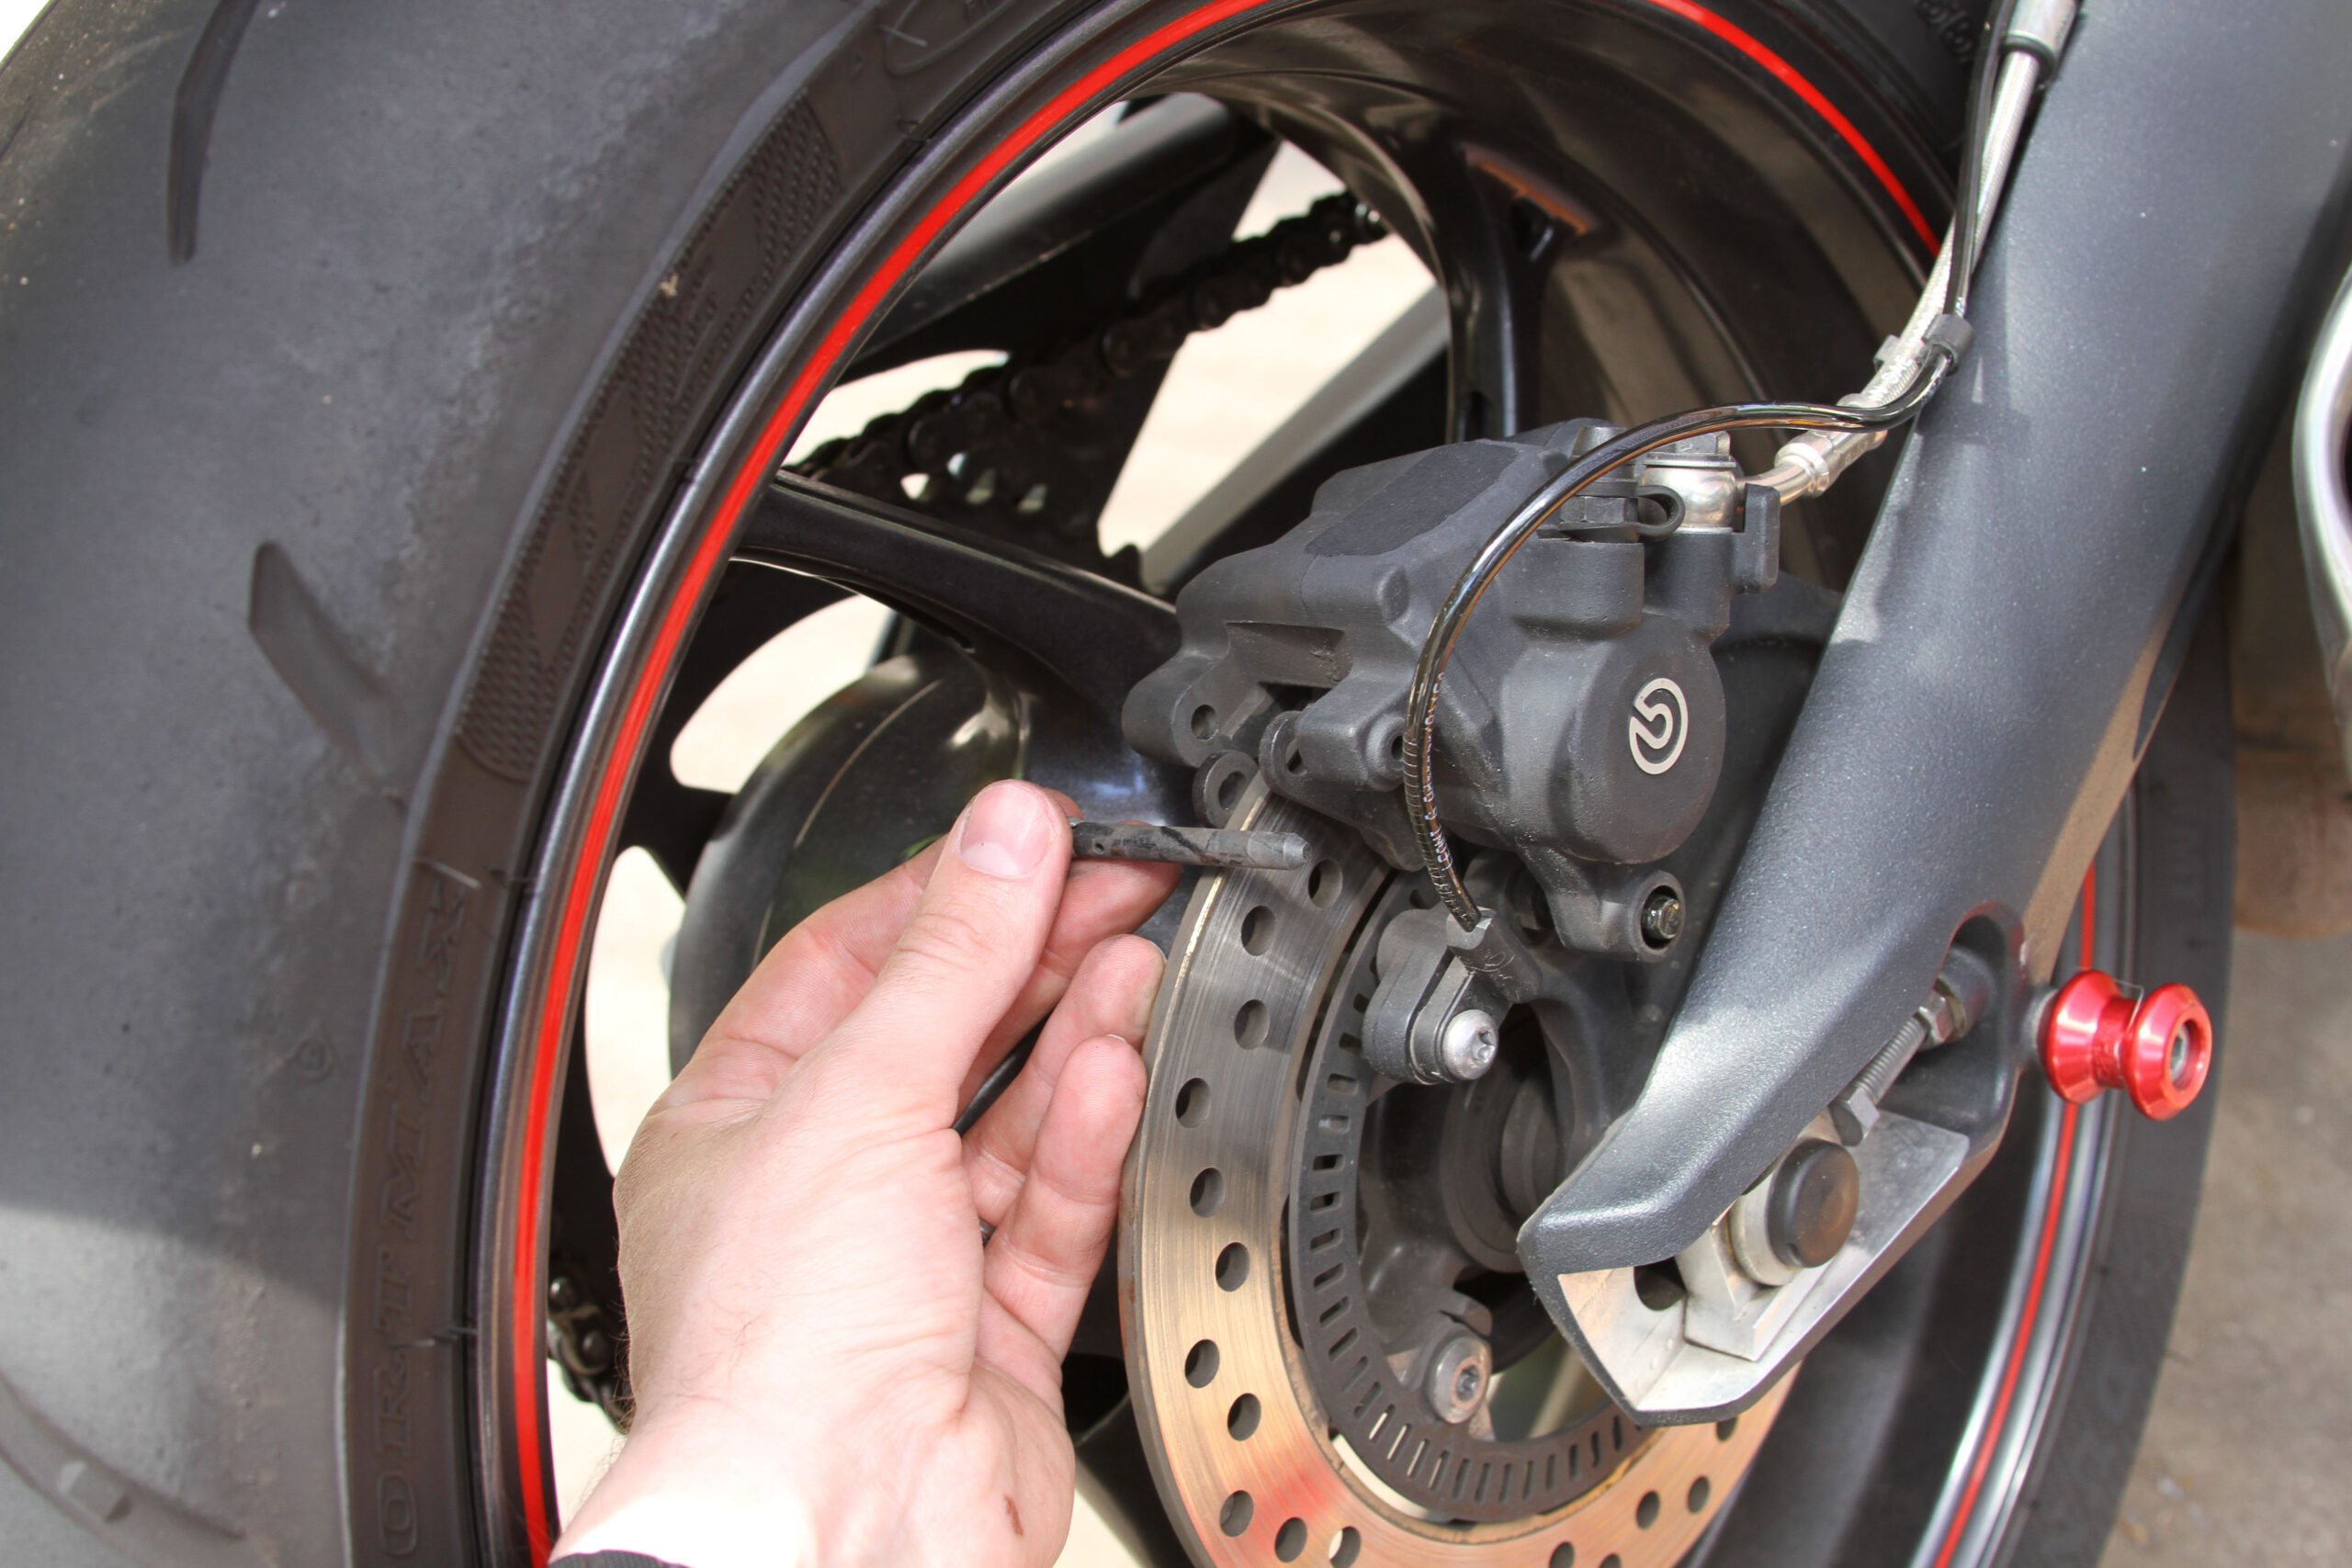
A quick visual inspection of your brake system should become part of your regular pre-ride routine. Aside from fluid levels, brake lights and lever checks, a pad check is also important. Look through the calipers and check how much friction material remains on the brake pads. If the friction material is getting close to the backing plate, say within 2mm, it’s time to replace them before braking performance is compromised. They will soon lose their ability to combat friction heat, quickly causing brake fade.
Brake pads can also become glazed, even if plenty of material remains. Glazing occurs when the pads either overheat or spend long periods operating outside their ideal temperature range, even from use that is too soft, reducing braking efficiency and increasing stopping distances. Light glazing can sometimes be removed by carefully sanding the pad surface or, my favourite trick, rubbing them on concrete, but repeated glazing often indicates it’s time to choose a pad better suited to your riding style.
Selecting the right replacement pads is just as important as replacing them. While cheap aftermarket options may be tempting, braking is one area where quality matters. Choose a reputable manufacturer and ensure the compound matches both your riding conditions and your brake rotor material. For most modern road motorcycles or scooters fitted with stainless-steel rotors, sintered pads offer excellent stopping power, durability and consistent performance in wet and dry conditions. Organic pads remain an option for certain applications, offering quieter operation and gentler rotor wear, but they generally wear faster and are better suited to older machines with cast-iron discs, or riders prioritising comfort over outright performance. Carbon-type pads and race pads are better suited to hard riding where the pad material will be operating at high temperatures.
Refer to your service manual before starting the job and remember one critical rule: never pump the brake lever while the caliper is off the disc. Doing so forces the pistons out, making reinstallation difficult. Once the caliper is removed, take the opportunity to clean away accumulated brake dust and inspect the pistons, retaining pins and clips for corrosion or excessive wear. The old pads can then be removed and replaced with the new set before reinstalling the retaining hardware and bolting the caliper back into place. Clean and polish the retaining pins so the pads slide on them easily and use new R-clips if you can.
Spread the pads apart enough to clear the rotor but make sure the brake fluid does not spill from the reservoir. Always tighten the caliper bolts to the manufacturer’s specified torque settings. Pump the brake lever several times until firm pressure returns. This seats the pads against the rotor and restores normal brake operation. Check the brake fluid level and remove excess or top up as needed. Even better, while you’re at it, replace your brake fluid (see next article).
Take the time to properly bed in your new brake pads. I do a series of gentle, progressive stops rather than heavy braking for the first 50km. This allows an even transfer layer to develop on the disc surface, maximising braking performance, minimising rotor wear and ensuring the longest possible service life from your new pads.